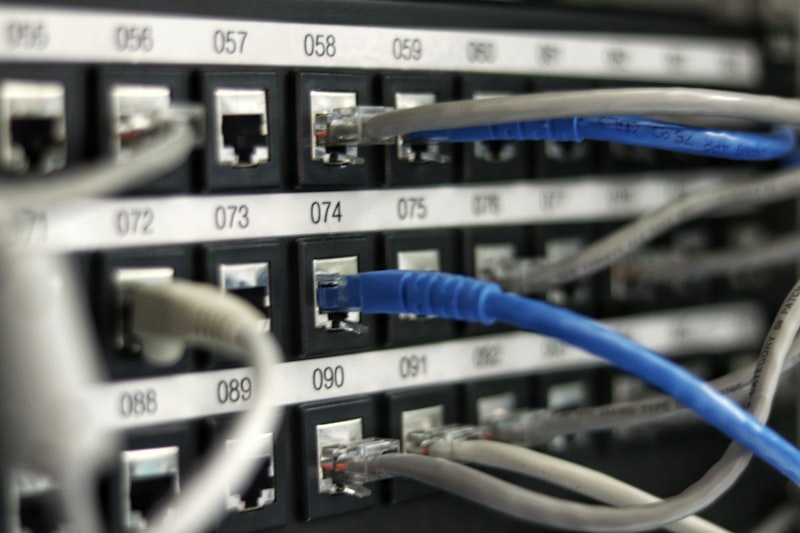
A network installation or upgrade is one of the most impactful IT investments a business can make — and one of the most disruptive if done poorly. Whether you're moving into a new office, expanding to a new location, or modernizing aging infrastructure, this guide walks you through the full process so you know exactly what to expect.
Step 1: Site Survey and Discovery
Every professional network installation begins with a site survey — a physical walkthrough of the space that informs everything that follows.
What a Site Survey Covers
Physical infrastructure assessment:
- Existing cabling (category, condition, routing)
- MDF/IDF room locations and capacity
- Power availability for network equipment (dedicated circuits, UPS)
- Ceiling type (drop, hard), conduit access, cable pathways
- Physical dimensions and distances between network locations
Existing network inventory:
- Current switches, routers, access points (models, ages, condition)
- Documentation gaps (unlabeled cables, unknown port assignments)
- ISP demarcation point and circuit capacity
Wireless environment:
- RF interference sources (microwaves, neighboring networks, concrete walls)
- Coverage requirements by zone
- User density and device count estimates
A thorough site survey typically takes 2–6 hours for a standard office environment. For multi-floor buildings or complex environments, plan for a full day.
Step 2: Network Design
Based on the site survey findings and your business requirements, the network design phase produces:
Physical Layer Design
- Cabling plan (cable category, routing paths, number of drops per area)
- MDF/IDF architecture (rack diagrams, patch panel layout)
- Power and cooling requirements
Logical Network Design
- IP addressing scheme and VLAN structure
- Routing protocol selection
- Wireless network design (SSID structure, band steering, roaming)
- Security segmentation (corporate vs. guest vs. IoT VLANs)
- WAN configuration (ISP integration, failover)
Equipment Selection
Equipment recommendations should match your performance requirements, budget, and operational capabilities:
Switching:
- Entry-level (small offices): Cisco CBS, HP ProCurve, Ubiquiti UniFi
- Mid-market: Cisco Catalyst 1000/2000 series, Meraki MS series, HP Aruba 2530
- Enterprise: Cisco Catalyst 9000, Meraki MX/MS, HP Aruba CX
Wireless:
- SMB: Ubiquiti UniFi, TP-Link Omada, Cisco Meraki MR
- Enterprise: Cisco Catalyst 9100, Meraki MR, HP Aruba AP-500 series
Routing/Firewall:
- SMB: Cisco Meraki MX, Fortinet FortiGate 60/100 series, SonicWall TZ series
- Enterprise: Cisco ASA/FTD, Palo Alto PA series, Fortinet FortiGate 200+
Step 3: Pre-Installation Preparation
Before installation day, several items need to be confirmed:
- Equipment procurement and delivery — all hardware ordered and received at site
- Change management — stakeholders notified of planned downtime windows
- Access coordination — building management, security, HVAC (for MDF/IDF work) notified
- Configuration pre-staging — switch and firewall configs prepared off-site where possible
- ISP coordination — circuit activation or port change orders placed with sufficient lead time
Poor pre-installation preparation is the leading cause of extended downtime and same-day project delays.
Step 4: Physical Installation
Structured Cabling
If new cabling is required, this phase includes:
- Cable pulls through conduit, above ceiling, or in raceways
- Terminations at both ends (wall outlets and patch panels)
- Cable management and labeling
- FLUKE certification testing
For occupied spaces, cabling work is typically done during off-hours to minimize business disruption.
Equipment Rack Work
- Rack mounting of switches, patch panels, UPS, and ancillary equipment
- Cable management within the rack
- Power connections and UPS integration
- Console and management cabling
Device Installation
- Wall or ceiling mounting of wireless access points
- PoE switch port assignment
- Physical security of network equipment
Step 5: Configuration and Testing
Switch Configuration
- VLAN creation and port assignment
- Spanning tree configuration
- Port security and access control
- SNMP and management configuration
- QoS policies (for VoIP or video environments)
Wireless Configuration
- SSID creation and security settings (WPA3 where supported)
- Band steering and minimum RSSI thresholds
- Guest portal configuration
- RF power and channel settings
- Client roaming policies
Firewall Configuration
- WAN interface and ISP integration
- NAT and routing policies
- Security policies (allow/deny rules)
- VPN configuration (site-to-site and remote access)
- IPS/IDS signature enablement
Testing Protocol
- Connectivity tests from every zone to internet and internal resources
- Wireless coverage verification (walking survey)
- Failover testing (if redundant WAN configured)
- Speed and throughput testing
- Security policy validation
Step 6: Documentation and Handoff
A professional network installation concludes with complete documentation:
- As-built network diagram — logical topology with IP addresses and VLAN assignments
- Physical cable map — every run labeled with port assignments
- Equipment inventory — serial numbers, firmware versions, warranty expiration dates
- Configuration backup — saved configs for all network devices
- FLUKE certification reports — for all cabling work
- Admin credentials — securely transferred to client IT team
- Runbook — basic operational procedures for common scenarios
Without documentation, the next technician to touch the network is starting from scratch. Documentation is not optional — it's deliverable.
Choosing a Network Installation Contractor
Look for:
- Certified technicians — CCNA/CCNP, CompTIA Network+, manufacturer certifications
- Structured cabling expertise — the physical layer matters as much as the logical layer
- Documentation commitment — ask specifically what documentation they deliver
- References — request references from comparable projects (size, industry)
- Warranty on labor — a professional contractor stands behind their work